Lenovo How to Boot from USB | Quick Tips for Beginners
Published: 6 Jun 2025
How to Boot from USB
Many modern computers let you boot from a USB drive, which is handy for installing systems or fixing errors. But let’s be honest, have you ever wondered why your USB isn’t showing up or what booting even means? If your PC won’t start or you’re stuck on a black screen, knowing how to boot from USB can save you time and stress. Imagine turning your USB stick into a mini rescue tool, cool, right?
What does Boot from USB mean?
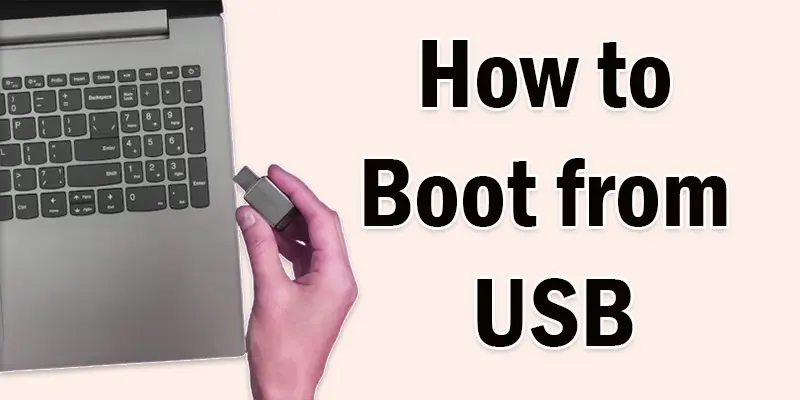
Boot from USB means starting your computer using a USB drive instead of the built-in hard drive. It’s like telling your computer to use the USB first to load or fix something.
Why would someone want to boot from a USB?
Here are some simple reasons why someone might want to boot from a USB:
- To install a new operating system like Windows or Linux.
- To fix problems when the computer won’t start.
- To run virus scanners or recovery tools.
- To try a different system without changing your main one.
- To back up or copy important files when the system is down.

Step 1 | Create a Bootable USB
Here’s how to make your USB drive bootable in a few simple steps:
Get the ISO File
- Download the operating system you want to install (like Windows or Ubuntu) from its official website.
Use a Bootable USB Tool
- On Windows, you can use Rufus.
- On Mac or Linux, try Balena Etcher.
- These tools help you turn your USB into a bootable drive.
Insert Your USB Drive
- Plug in a USB with at least 8GB of space.
- Make sure to back up your files because this process will erase everything from them.
Open the Tool and Select Settings
- Choose your USB drive.
- Pick the ISO file you downloaded.
- Click Start or Flash to begin.
Tip: Use a USB 3.0 drive for faster speed if your computer supports it.
Step 2 | Change Boot Order in BIOS/UEFI
To start your computer from the USB, you need to tell it to look at the USB first. This happens in a special settings menu called BIOS or UEFI.
What is BIOS/UEFI?
BIOS or UEFI is a program inside your computer that helps it start up. It checks the hardware and tells the computer how to load the operating system. Think of it as the computer’s guide when you turn it on.
How to Enter BIOS/UEFI
- When you turn on your computer, press a key like F2, DEL, ESC, or F10 right away.
- Different brands use different keys. For example, Dell uses F12, HP uses ESC.
Locate the Boot Menu
- To navigate, use the arrow keys.
- Look for “Boot Order,” “Boot Priority,” or “Boot Options.”
Make USB the initial boot device.
- Put your USB drive in the first position.
Save and Exit
- Press the key to save (usually F10) and restart your PC.
Tip: If you don’t see your USB, try plugging it into another USB port and restarting.
Step 3 | Boot From the USB
Now that your USB is ready and the boot order is set, it’s time to start your computer from the USB.
Plug in the USB drive
- Make sure the USB stick is connected to your computer.
Restart your computer.
- Turn it off and then on again, or just restart.
Watch for a message
- You might see “Press any key to boot from USB.”
- Press any key quickly to start from the USB.
Follow on-screen instructions
- You will see the setup or recovery screen depending on your USB’s content.
- Just follow the steps to install or run the program.
Tip: If nothing happens, check your boot order again or try pressing the boot menu key (like F12) during startup.
Common Issues and Fixes
Occasionally, the USB disc may not be recognised by your computer. To resolve this, try using a different USB port or a different USB stick. Also, make sure your USB is properly created and fully plugged in.
If you don’t see the USB in the boot menu, check your BIOS settings to confirm the boot order. You might also need to disable Secure Boot in some computers to allow USB booting. Restart and try again after making these changes.

Conclusion About How to Boot from USB in Windows 10
The easiest way is to double-check your BIOS settings before trying, as it saves a lot of time and frustration. If you want a smooth and quick boot process, take your time to follow each step carefully. Ready to get started? Grab your USB drive and try booting your system now.
FAQS
To access the boot menu, plug in the USB, restart your computer, and press a key (such as F12 or Esc). Next, choose the USB disc to begin using it.
Navigate to the BIOS or UEFI settings on your computer, choose USB as the boot order, save it, and then restart it with the USB plugged in.
Use a tool like Rufus or the Windows Media Creation Tool to copy the system files to the USB and make it bootable.
Open Command Prompt as admin, use diskpart to select and format the USB, then copy the system files to it to make it bootable.
A bootable USB usually uses the FAT32 or NTFS format to hold system files so your computer can start from it.

- Be Respectful
- Stay Relevant
- Stay Positive
- True Feedback
- Encourage Discussion
- Avoid Spamming
- No Fake News
- Don't Copy-Paste
- No Personal Attacks

- Be Respectful
- Stay Relevant
- Stay Positive
- True Feedback
- Encourage Discussion
- Avoid Spamming
- No Fake News
- Don't Copy-Paste
- No Personal Attacks


