How to Install a Printer on Mac: A Quick and Easy Guide
Published: 27 Dec 2024
Complete Guide to Installing a Printer on Mac
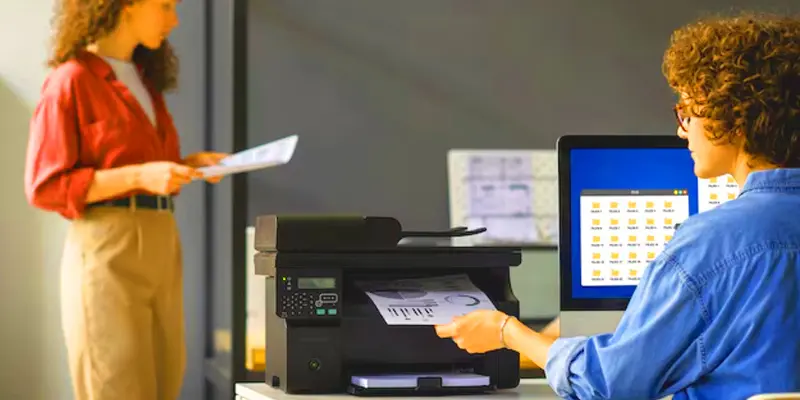
Setting up a printer for the first time can feel confusing, especially on a new device. If you’re a Mac user, don’t worry—how to install a printer on a Mac is easier than you might think. Whether you’re connecting wirelessly or using a USB cable, this simple guide will walk you through each step in a clear and friendly way, so you can start printing in no time.
Why Is It Important to Know How to Install a Printer on a Mac?
- It enables you to print images and documents straight from your Mac.
- Saves time by setting up your printer quickly and easily.
- Helps avoid frustration when trying to print important materials.
- Ensures your printer works properly with your Mac’s operating system.
- Gives you the ability to troubleshoot common printer issues.
Step-by-Step Guide: How to Install a Printer on Mac
Installing a printer on a Mac is a straightforward process that ensures you can easily print from your computer. Follow these simple steps to get your printer up and running.
- Turn On Your Printer
- Connect Your Printer to Your Mac
- Add Printer on Mac
- Install Printer Drivers (if needed)
- Configure Printer Settings
- Test the Printer Installation
- Set as Default Printer (Optional)
Turn on Your Printer
- Connect the printer to a power supply.
- To activate the printer, press the power button.
- Wait for the printer to complete its startup process and show a ready status.
Connect Your Printer to Your Mac
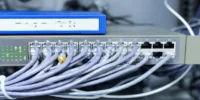
- Use a USB cord to connect the printer to your Mac, or, for wireless setup, connect it to the same Wi-Fi network as your Mac.
- Verify that the printer is turned on and prepared for connection.
- For Wi-Fi printers, follow the printer’s manual to complete the wireless connection.
Add Printer on Mac
- Open System Preferences on your Mac.
- Choose your printers and scanners.
- Click the Add button to connect a new printer.
- From the list of available devices, select your printer.
- Complete the configuration by following the on-screen directions.
Install Printer Drivers (if needed)
- Check if macOS automatically installs the necessary printer drivers.
- If not, get the most recent printer drivers from the manufacturer’s website.
- To finish the driver setup, according to the installation guidelines.
Configure Printer Settings
- Go to Printers & Scanners under System Preferences.
- Click Options & Supplies after selecting your printer.
- Change the default printer settings, print quality, and paper size.
Test the Printer Installation
- Print a test page from Printers & Scanners to check the installation.
- Review the print quality for any issues like misalignment or fading.
- If problems occur, troubleshoot by restarting the printer and checking connections.
Set as Default Printer
- Go to System Settings > Printers & Scanners.
- Right-click your printer and select “Set as default printer.”
- This saves time by auto-selecting the same printer every time you print.
Fix Common Issues When Installing a Printer on Mac
- Ensure the printer is securely plugged in and powered on.
- Also, confirm it’s connected to the same Wi-Fi network as your Mac.
- Go to System Settings > Printers & Scanners to see if your printer appears.
- Click the “+” button to manually add the printer if it doesn’t show up.
- Restart both your Mac and the printer to refresh the connection.
- Visit the printer maker’s website to download and install the latest drivers.
- Ensure your macOS is up to date for better driver support.
- Remove and re-add the printer if it’s showing as offline or unresponsive.
- Clear the print queue in case jobs are stuck or paused.
- Reset the printing system under Printers & Scanners settings if nothing works.
Conclusion about Installing Printer on Mac
Installing a printer on your Mac is a simple process, and following the steps carefully ensures a smooth setup. From turning on your printer to testing the installation, each step plays a vital role in making sure everything works properly. I recommend always double-checking the printer’s compatibility and settings to avoid any issues later on. If you encounter problems, don’t hesitate to consult the manual or check for driver updates. Ready to print? Follow these steps today and enjoy hassle-free printing on your Mac!
FAQS – Install a Printer on Mac
Verify the connections and make sure the printer is turned on if it isn’t appearing in the list. Make sure your wireless printer is linked to the same Wi-Fi network as your Mac. If the issue persists, try restarting both the printer and Mac, or reinstalling the printer drivers.
- Use USB or Wi-Fi to connect the printer to your Mac.
- Go to Printers & Scanners under System Preferences.
- To add the printer, click the Add button.
- To finish the setup, follow the instructions.
Yes, you can install a printer using Bluetooth if your printer supports it. Simply pair the printer with your Mac via Bluetooth and follow the installation steps.
Most modern printers work with Mac, especially those that support AirPrint or have macOS-compatible drivers. Always check the printer’s specs to confirm Mac support.


- Be Respectful
- Stay Relevant
- Stay Positive
- True Feedback
- Encourage Discussion
- Avoid Spamming
- No Fake News
- Don't Copy-Paste
- No Personal Attacks
- Be Respectful
- Stay Relevant
- Stay Positive
- True Feedback
- Encourage Discussion
- Avoid Spamming
- No Fake News
- Don't Copy-Paste
- No Personal Attacks
